Tail Assembly: Vertical Stabilizer and Rudder Explained
Building a radio-controlled airplane requires precision. While the wings and fuselage are crucial, the tail assembly – specifically the vertical stabilizer (fin) and rudder – plays a vital role in stability and control. Incorrect assembly here can lead to flight instability and difficulty in controlling your RC airplane. This article will guide you through the assembly process, emphasizing proper alignment and techniques for a reliable tail section.
Understanding the Components
Before we start building, let’s understand what each component does:
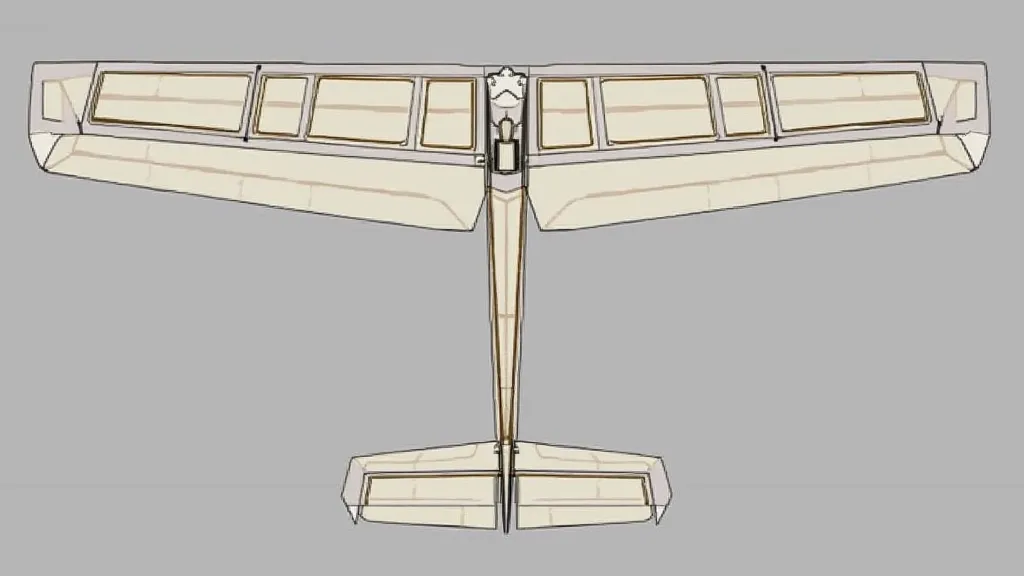
- Vertical Stabilizer (Fin): This is the large, upright surface at the rear of the airplane. It prevents the plane from yawing (rotating left or right) unintentionally. Think of it as the "steering wheel" for sideways movement.
- Rudder: Attached to the vertical stabilizer, the rudder is a movable control surface. When you move the rudder via your radio transmitter, it deflects airflow, causing the airplane to yaw.
Materials & Tools
You're likely using balsa wood or a similar lightweight material. Ensure you have:
- Vertical Stabilizer pieces (fin)
- Rudder piece
- Wood glue (specifically designed for balsa)
- Clamps (small clamps work best)
- Sharp hobby knife
- Sanding block and fine sandpaper
- Ruler or straight edge
Assembly Steps
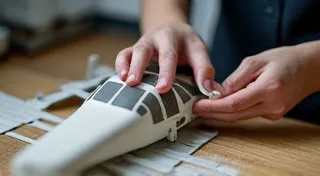
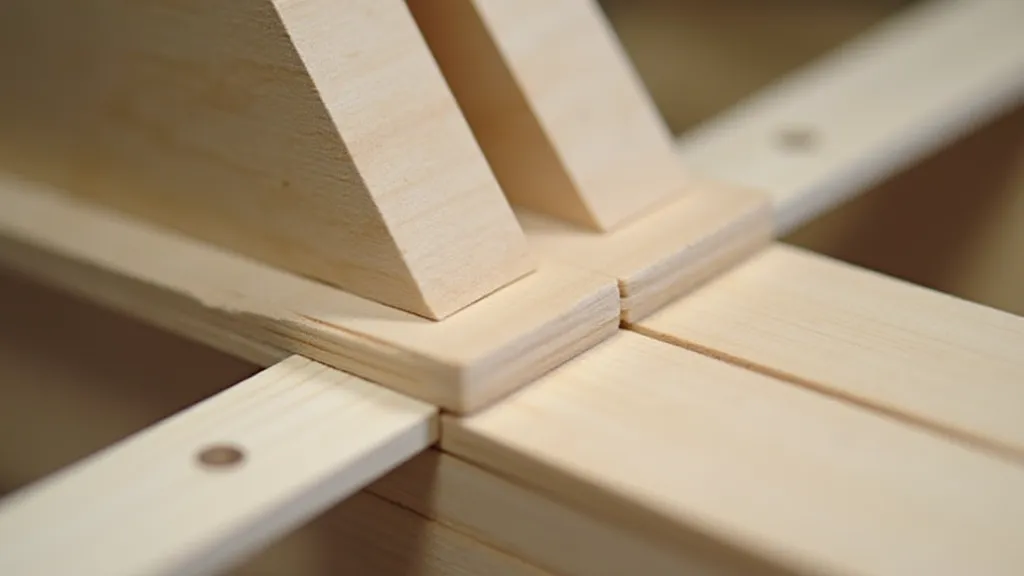
- Fin Construction: If your vertical stabilizer is made up of multiple pieces (often two or three), carefully glue them together, ensuring the edges are perfectly aligned. Use clamps to hold the pieces together while the glue dries. Make sure the fin is perfectly straight.
- Rudder Attachment: The rudder is typically attached to the trailing edge of the vertical stabilizer. Refer to your plans for the exact placement. Apply glue to the joining surfaces.
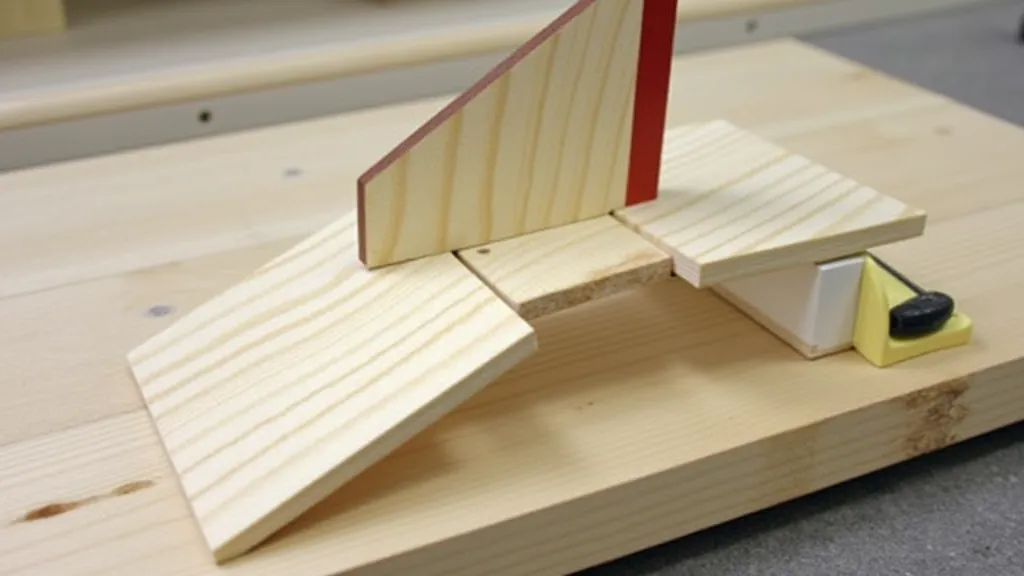
- Alignment is Key: This is the most critical step! The vertical stabilizer MUST be perfectly vertical. Any tilt, even a few degrees, will significantly impact flight stability. Use a square or a level to ensure it's aligned. The rudder needs to be centered on the fin.
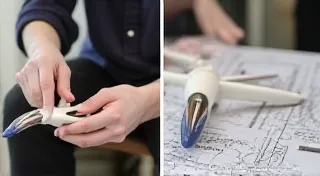
- Secure the Joint: Reinforce the joint between the rudder and the vertical stabilizer with thin strips of wood glue. This strengthens the assembly and prevents it from warping or coming loose during flight.
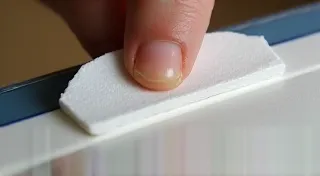
- Sanding and Finishing: Once the glue is completely dry, carefully sand the tail assembly to smooth any rough edges or glue residue. This improves aerodynamics and aesthetics.
Important Considerations
- Refer to Your Plans: These instructions are general. Always consult your specific airplane plans for precise measurements and assembly details.
- Test for Straightness: Before attaching the tail to the fuselage, check the vertical stabilizer for straightness.
- Control Horns: Remember to install the control horns on the rudder. These are what connect the rudder to the control linkages in your radio system.
A correctly assembled tail section is fundamental to a successful RC airplane build. Taking your time and paying attention to detail during this process will significantly contribute to a stable and enjoyable flying experience. Good luck!