Building the Fuselage: Step-by-Step Instructions
The fuselage, or main body, of your radio-controlled airplane is the backbone of the entire project. A strong and accurately built fuselage is critical for stable flight. This guide provides detailed, easy-to-follow instructions to help you build a solid fuselage for your RC airplane. We’ll focus on a simple, box-style construction, ideal for beginners.
Materials You're Going to Need
- Balsa wood sheets (various thicknesses – check your plans!)
- Balsa wood strips (for stringers and spars)
- Wood glue (specifically designed for model airplane construction)
- Pins
- Sharp hobby knife
- Ruler or straight edge
- Sandpaper (various grits)
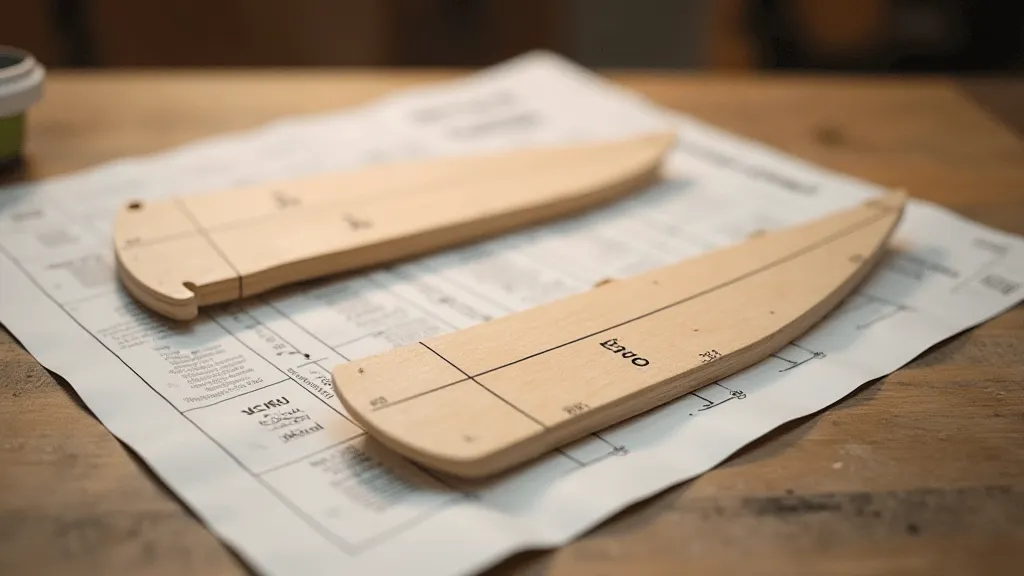
Step 1: Cutting the Fuselage Sides
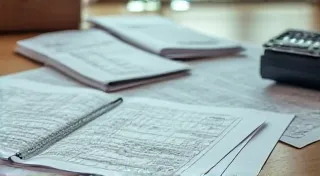
Refer to your plans for the exact dimensions of the fuselage sides. Accurately cut two identical pieces from your balsa sheet. Precision here is key! Any discrepancies between the two sides will result in an uneven fuselage.
Step 2: Adding the Top and Bottom Frames
The top and bottom frames provide structure and shape to the fuselage. Cut these frames according to your plans, ensuring they are accurately sized. Glue the frames to the fuselage sides, using pins to hold them in place while the glue dries. Double-check the alignment against your plans.
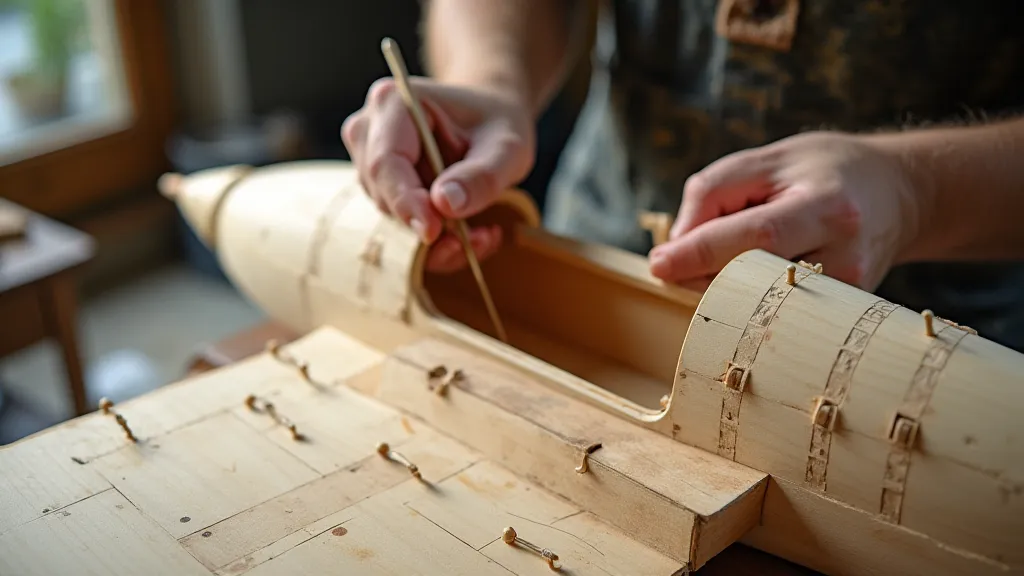
Step 3: Installing the Stringers
Stringers are long, thin strips of balsa that run along the length of the fuselage, adding significant strength. Apply a thin, even layer of glue to the stringers and carefully align them between the fuselage sides. Use pins to hold them securely. Ensuring the stringers are straight and evenly spaced is crucial for a true fuselage.
Step 4: Adding the Tail Section
The tail section connects to the rear of the fuselage and holds the vertical stabilizer. Build this section according to your plans and carefully attach it to the fuselage. Pay close attention to the angle of the tail – this affects the airplane’s stability. A jig can be helpful here to ensure accurate alignment.
Step 5: Reinforcing the Fuselage
For added strength, consider adding reinforcing fillets using a thickened glue mixture. Apply the fillets along all glued joints. This helps distribute stress and prevents the joints from failing during flight.

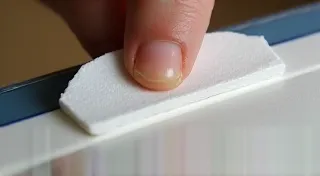
Step 6: Sanding and Finishing
Once the glue is completely dry, sand the fuselage smooth. Start with a coarser grit sandpaper to remove any excess glue or rough edges, then move to finer grits for a polished finish. A smooth fuselage reduces air resistance and improves the airplane’s performance.
Step 7: Attaching the Motor Mount (If Applicable)
If your airplane design includes a motor (for electric power), securely attach the motor mount to the fuselage according to your plans. Ensure the mount is perfectly aligned to avoid vibration and instability.
Tips for Success
- Accuracy is Paramount: Precise cuts and accurate alignment are the keys to a successful fuselage.
- Dry Fit First: Before gluing, always dry-fit all pieces together to ensure a good fit.
- Use Clamps and Pins: Clamps and pins are your friends! They hold everything in place while the glue dries.
- Patience is Key: Building a fuselage takes time and care. Don't rush the process.
With careful attention to detail and these step-by-step instructions, you'll be well on your way to building a strong and reliable fuselage for your RC airplane. Happy building!