Covering Your Airplane: Tips and Techniques
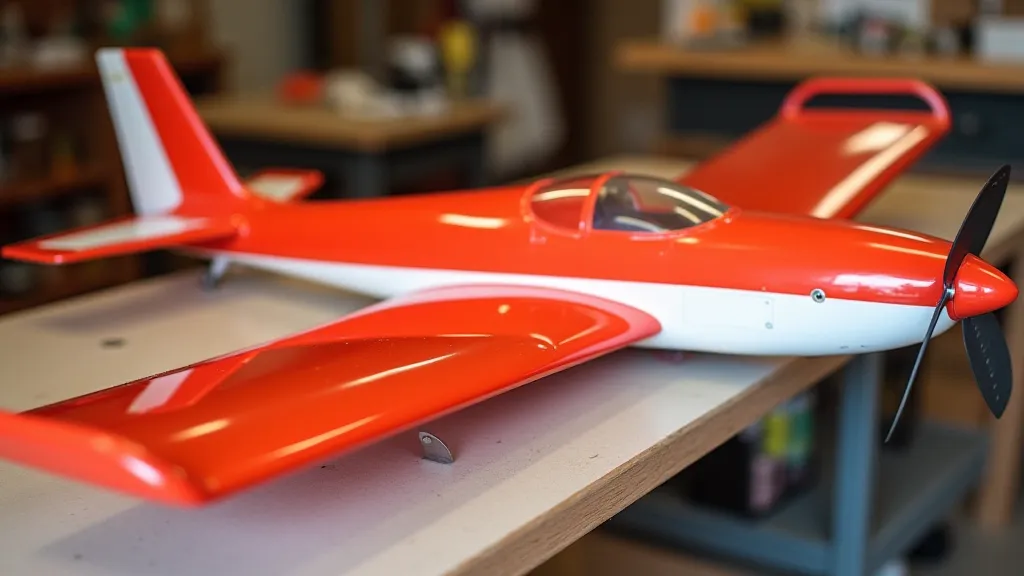
Applying covering material to your RC airplane is a critical step in the building process. It not only provides a smooth, aerodynamic surface but also protects the structure from the elements and adds a professional look. A poorly applied covering job can lead to wrinkles, bubbles, and ultimately, a less-than-optimal flying experience. This guide will walk you through the process, covering essential tips and techniques to achieve a clean and durable finish.
Choosing Your Covering Material
Several covering materials are available, each with its own pros and cons. Monokote is a popular choice for many RC airplane builders due to its durability, ease of use, and wide range of colors. Other options include Oracover and Ultracote. Consider your experience level and desired finish when making your selection.
Gather Your Supplies
- Covering Material (Monokote, Oracover, Ultracote, etc.)
- Heat Gun (essential for shrinking and adhering the covering)
- Covering Iron (optional, but helpful for smoothing and tacking)
- Scissors or Hobby Knife
- Ruler or Measuring Tape
- Masking Tape
- Covering Release Agent (optional, but helps prevent sticking)
Preparation is Key
Before you even think about applying the covering, ensure your airplane structure is clean and dry. Any dust or debris will be trapped beneath the covering and visible. Lightly sanding the surfaces can also help with adhesion. Use masking tape to secure any control surfaces or parts that you want to protect during the covering process.
Applying the Covering – Step by Step
- Cut the Covering: Cut the covering material slightly larger than the area you need to cover. This allows for overlap and adjustments.
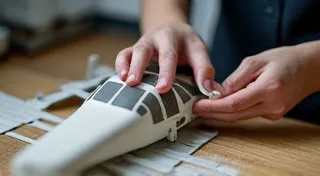
- Tacking the Covering: Start by tacking the covering material to the structure in a few spots using a covering iron (or a heat gun on a low setting). This keeps the material in place.
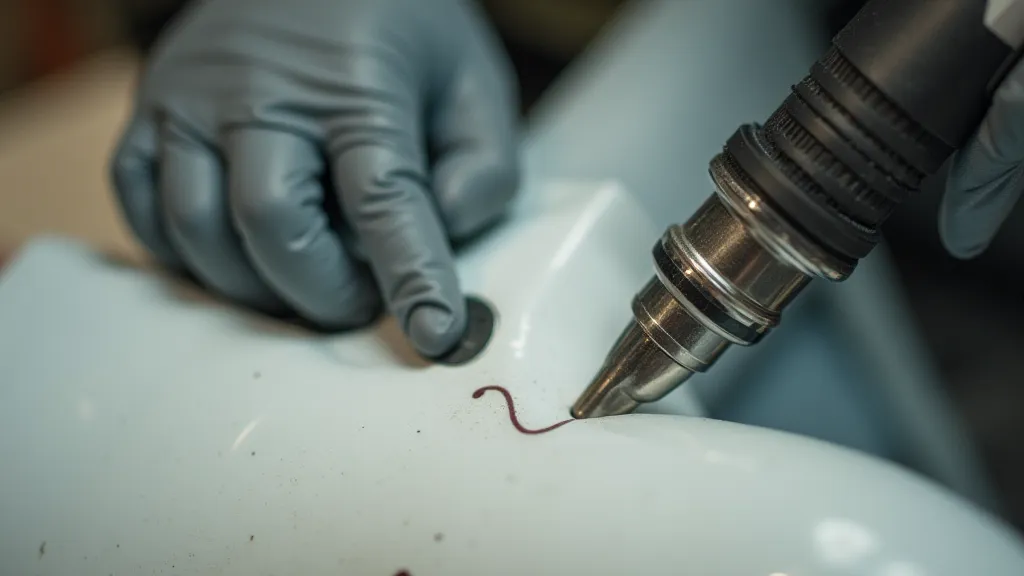
- Shrinking and Adhering: Using a heat gun, gently heat the covering material, working from the center outwards. Keep the heat gun moving to prevent scorching. The material will shrink as it heats, conforming to the shape of the airplane.
- Smoothing: As you shrink the covering, use a covering iron (or a gloved hand) to smooth out any wrinkles or bubbles. Work slowly and methodically.
- Overlapping: When covering adjacent surfaces, overlap the covering material slightly and use the heat gun and covering iron to create a strong, smooth bond.
- Control Surface Gaps: Pay close attention to control surface gaps. Ensure the covering material is neatly trimmed and allows for free movement.
Troubleshooting Common Problems
- Wrinkles: Ensure the surface is clean and dry. Reheat the area and gently stretch the covering while shrinking.
- Bubbles: Small bubbles can often be smoothed out with a covering iron. Larger bubbles may require poking a small hole and smoothing the area.
- Scorching: Keep the heat gun moving and avoid concentrating heat on one spot for too long.
- Sticking: If the covering is sticking to itself, apply a covering release agent before starting.
Applying covering material might seem daunting at first, but with practice and attention to detail, you can achieve a professional-looking finish that will enhance the performance and appearance of your RC airplane.

Remember to take your time and don't be afraid to experiment. A little patience goes a long way in achieving a beautiful and durable covering job.
Once the covering is applied and cooled, trim any excess material with a sharp hobby knife. A well-covered airplane is not only aesthetically pleasing but also contributes to its aerodynamic efficiency and overall flight performance.