Balsa Wood Basics: Cutting, Gluing, and Shaping for Your RC Airplane
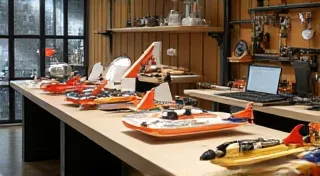
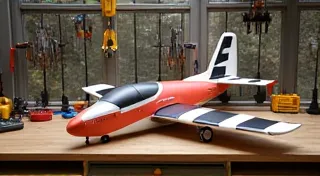
Balsa wood has long been the cornerstone material for model airplane construction, and for good reason. Its lightweight nature, combined with surprising strength, makes it ideal for radio-controlled airplanes. This article will guide you through the fundamental techniques of working with balsa – cutting, gluing, and shaping – so you can successfully build your own RC airplane.
Understanding Balsa Wood
Balsa wood is derived from the Balsa tree and comes in various grades. For model airplane building, you'll typically find grades ranging from "A" to "D," with "A" being the lightest and strongest, and "D" being the densest and least expensive. Start with A or B grade for critical parts like the wings and fuselage. The grain of the wood is crucial; always pay attention to the direction of the grain when cutting and gluing.
Essential Tools for Balsa Work
- Hobby Knife: A sharp, replaceable blade hobby knife is your primary cutting tool.
- Cutting Mat: Protects your work surface.
- Sandpaper: Various grits (80, 120, 220) for smoothing and shaping.
- Sanding Block: Provides a flat surface for sanding.
- CA Glue (Cyanoacrylate): Also known as super glue, it's the standard adhesive for balsa. Get various thicknesses (thin, medium, thick).
- CA Glue Accelerator: Speeds up the glue drying time.
- Pins: For holding pieces in place while glue dries.
- Ruler/Straight Edge: For accurate measurements and cutting.
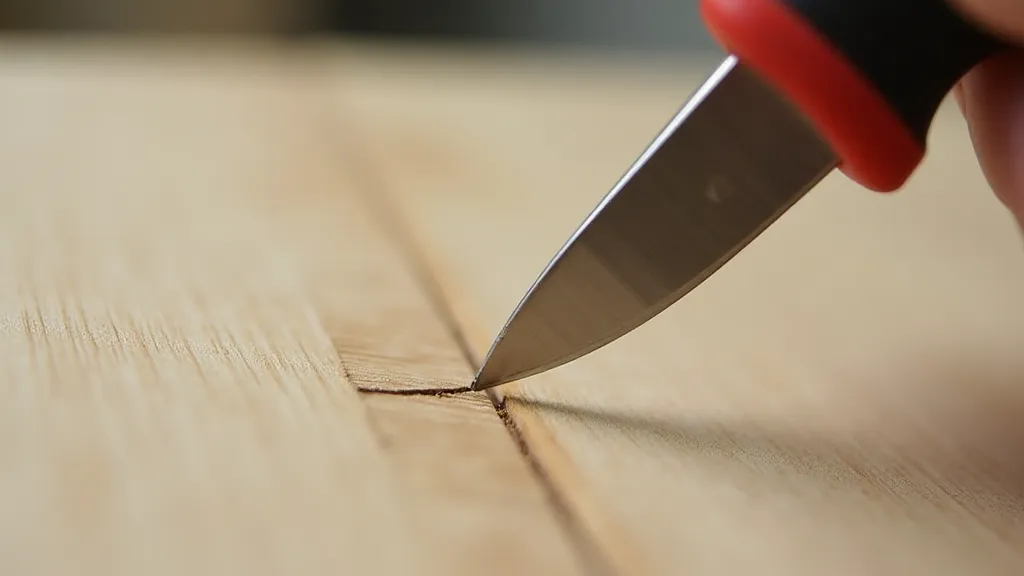
Cutting Balsa Wood
Precise cuts are vital for a well-built airplane. Here's how to cut balsa effectively:
- Always cut *with* the grain. Cutting against the grain will result in splintering and weak cuts.
- Use a sharp blade. Dull blades tear the wood. Replace your blade frequently.
- Multiple Passes: For thicker pieces, make several light passes rather than trying to cut through in one go. This results in a cleaner cut.
- Score First: For particularly difficult cuts, lightly score the wood with the hobby knife before attempting a full cut.
Gluing Balsa Wood
CA glue is your go-to adhesive, but proper technique is key:
- Apply Sparingly: Less is more! Too much glue adds weight and can weaken the joint.
- Pin in Place: Use pins to hold pieces together while the glue dries.
- Use Accelerator: A quick spritz of CA glue accelerator will speed up the drying time and strengthen the bond.
- Be Careful: CA glue bonds instantly. Avoid getting it on your fingers!
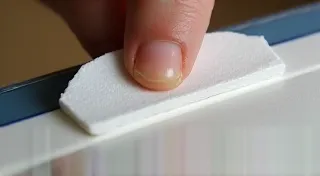
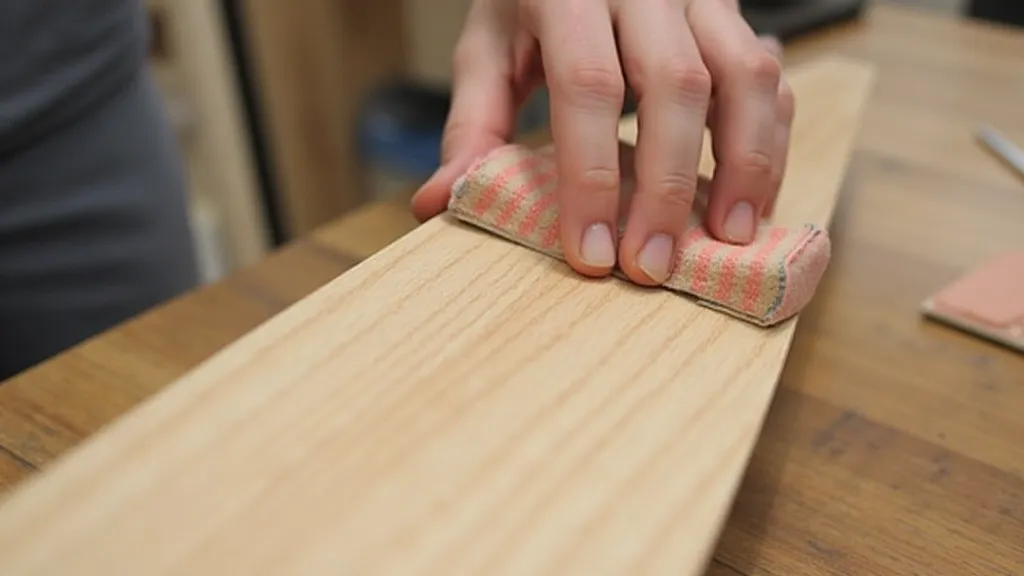
Shaping Balsa Wood
Shaping involves sanding and filing to achieve the desired aerodynamic profile. Follow these tips:
- Start with Coarse Grit: Use 80 or 120 grit sandpaper to remove material quickly.
- Progress to Finer Grits: Move to 220 or higher grit for a smooth finish.
- Sand *with* the Grain: Sanding against the grain leaves scratches.
- Use a Sanding Block: This helps maintain a flat surface and prevents rounding of edges.
Troubleshooting Common Problems
- Warping: Balsa wood can warp, especially thinner pieces. To correct warping, gently bend the wood back into shape and secure it with pins until the wood dries and holds its new shape.
- Cracking: Cracking often occurs when cutting against the grain or applying excessive pressure. Replace cracked pieces.
- Weak Joints: Weak joints are typically caused by improper gluing technique. Ensure you're using enough glue, pinning pieces securely, and allowing the glue to dry completely.
Mastering these basic techniques will set you on the right path to building a successful radio-controlled airplane. With patience and practice, you'll be enjoying the thrill of flight in no time!